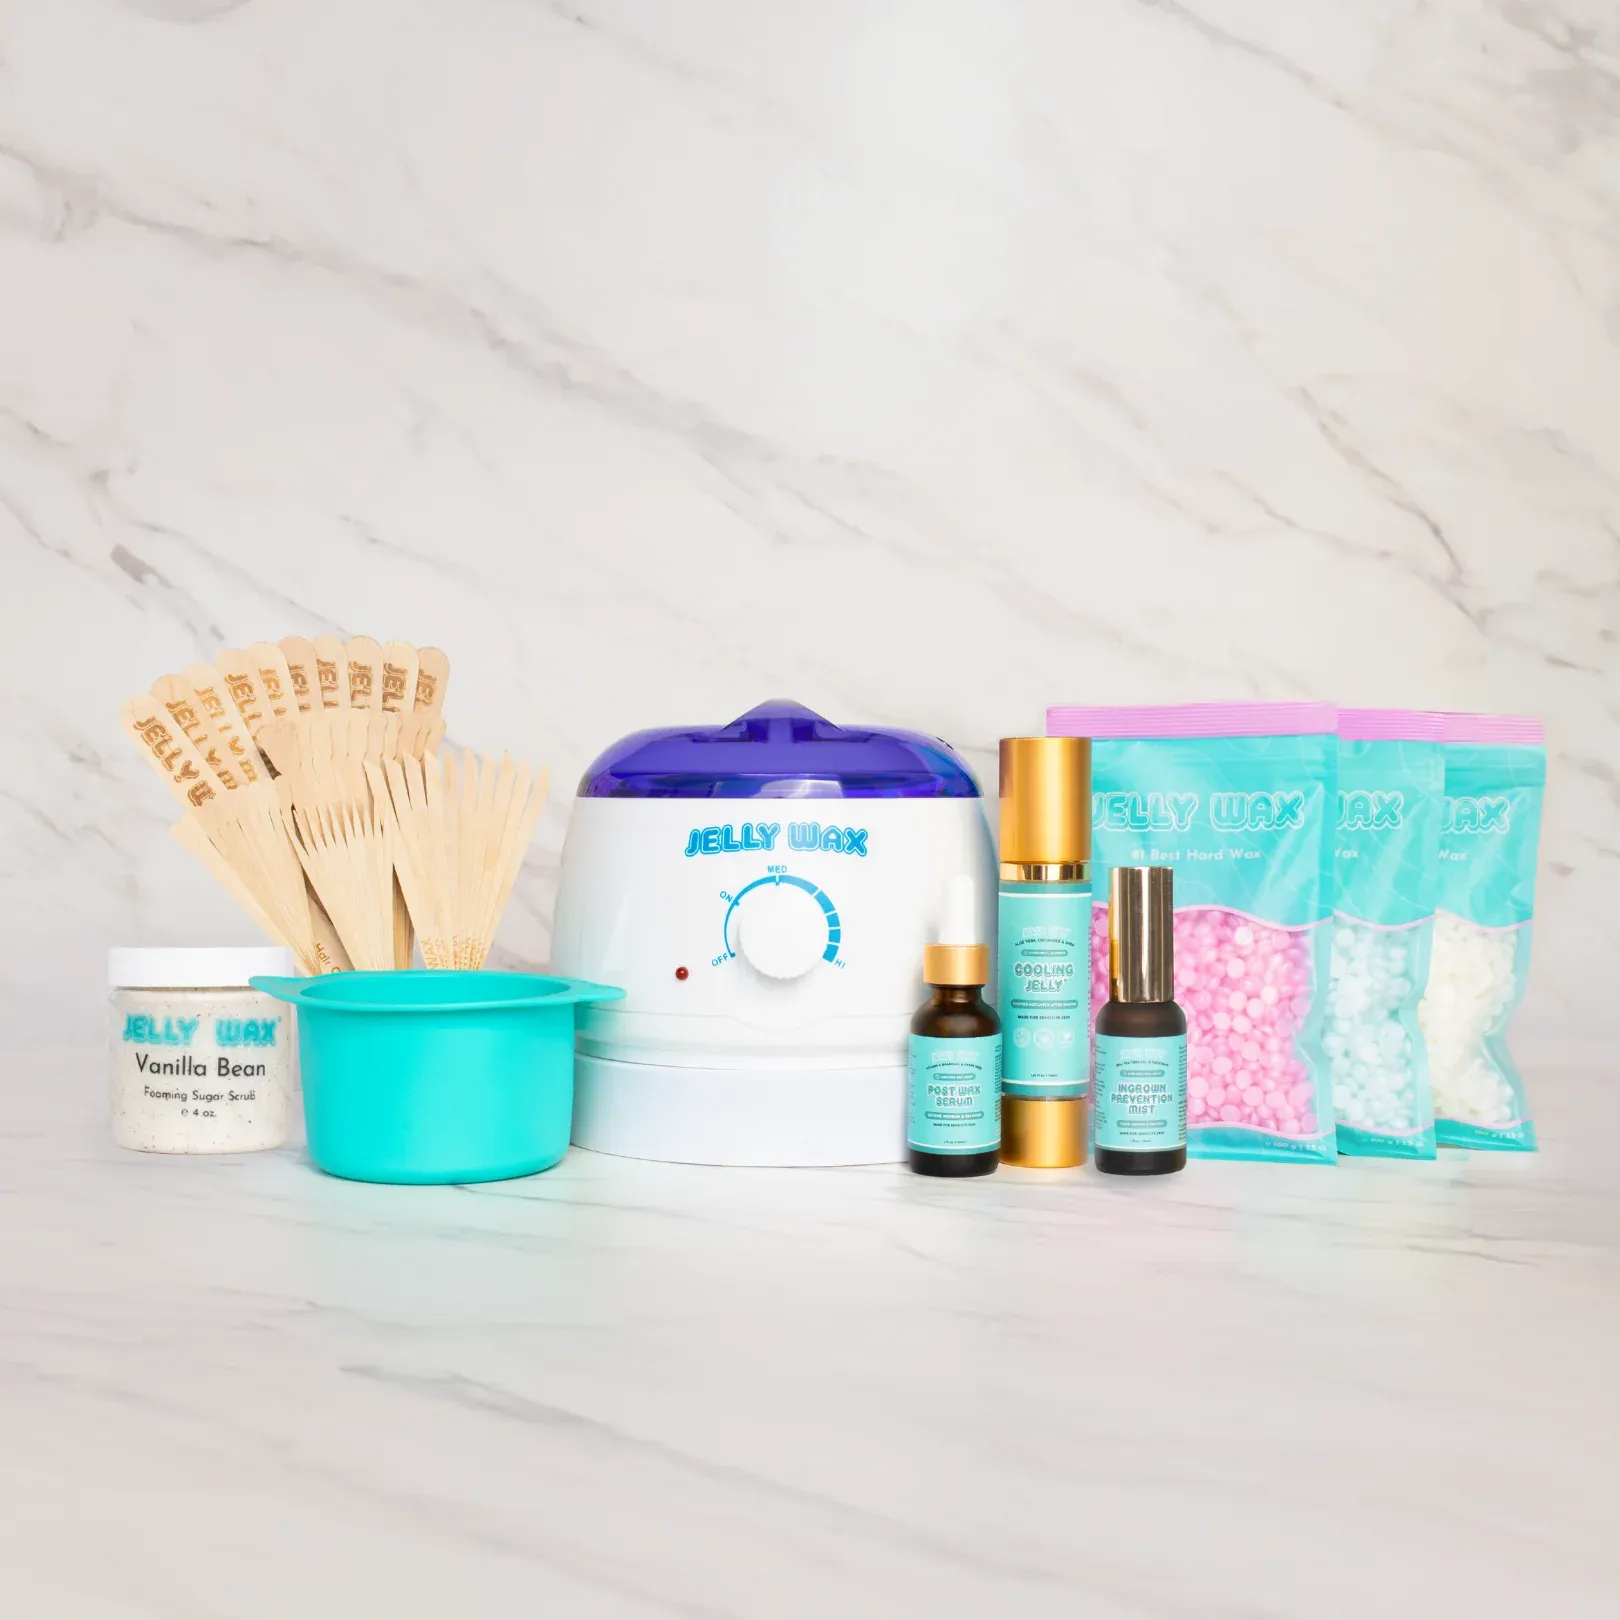

Waxing At Home, Made Simple
Step 1: Melt
15 Minutes to Melt
Pour Jelly Wax beads into the pot. In about 15 minutes they’ll melt into a smooth, honey-like texture and are ready to use.
Step 2: Apply
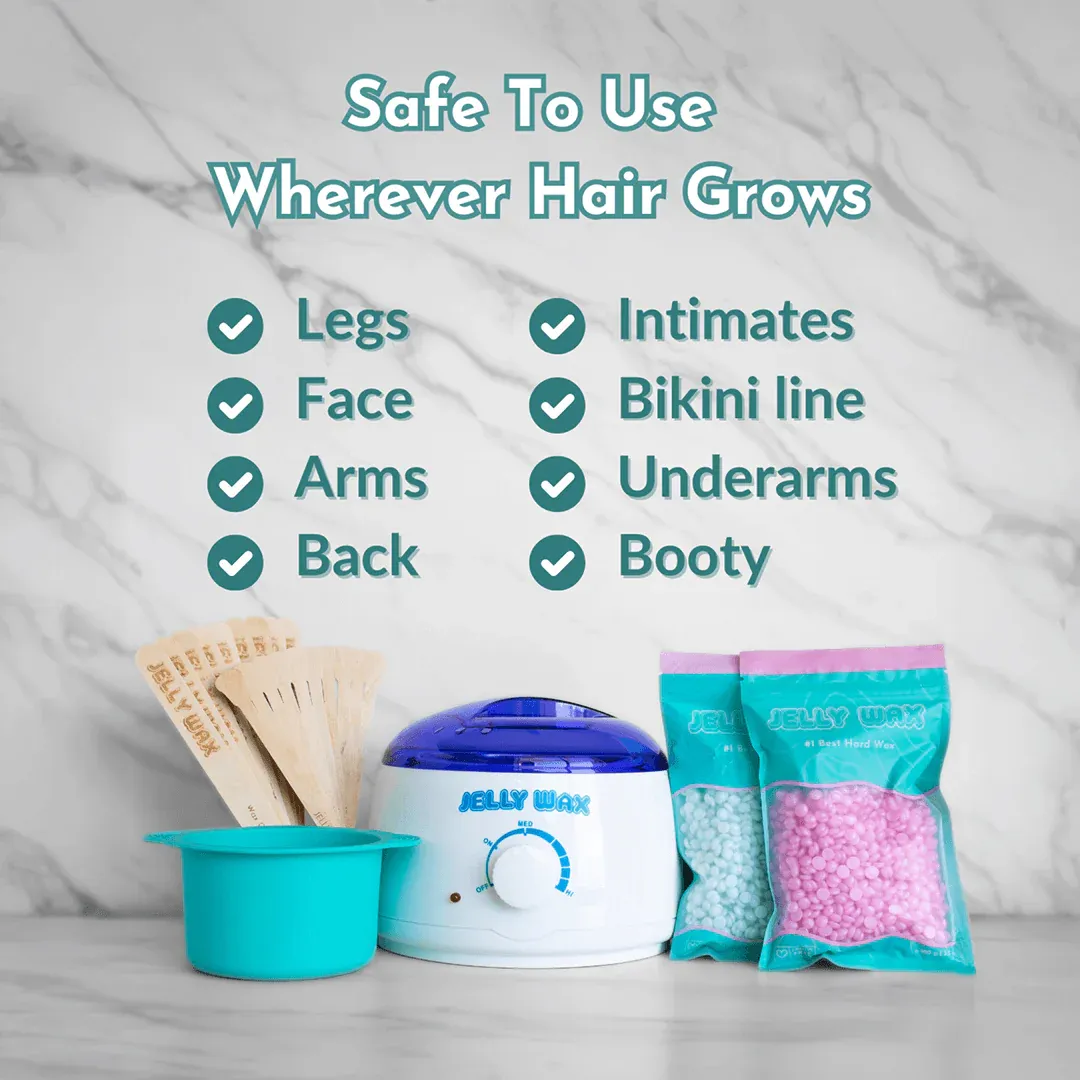
Spread in the Direction of Growth
Use the applicator to glide a layer of wax onto clean, dry skin. Apply with the direction of hair growth, then let it set for 30–45 seconds.
Step 3: Remove
Flick and Pull
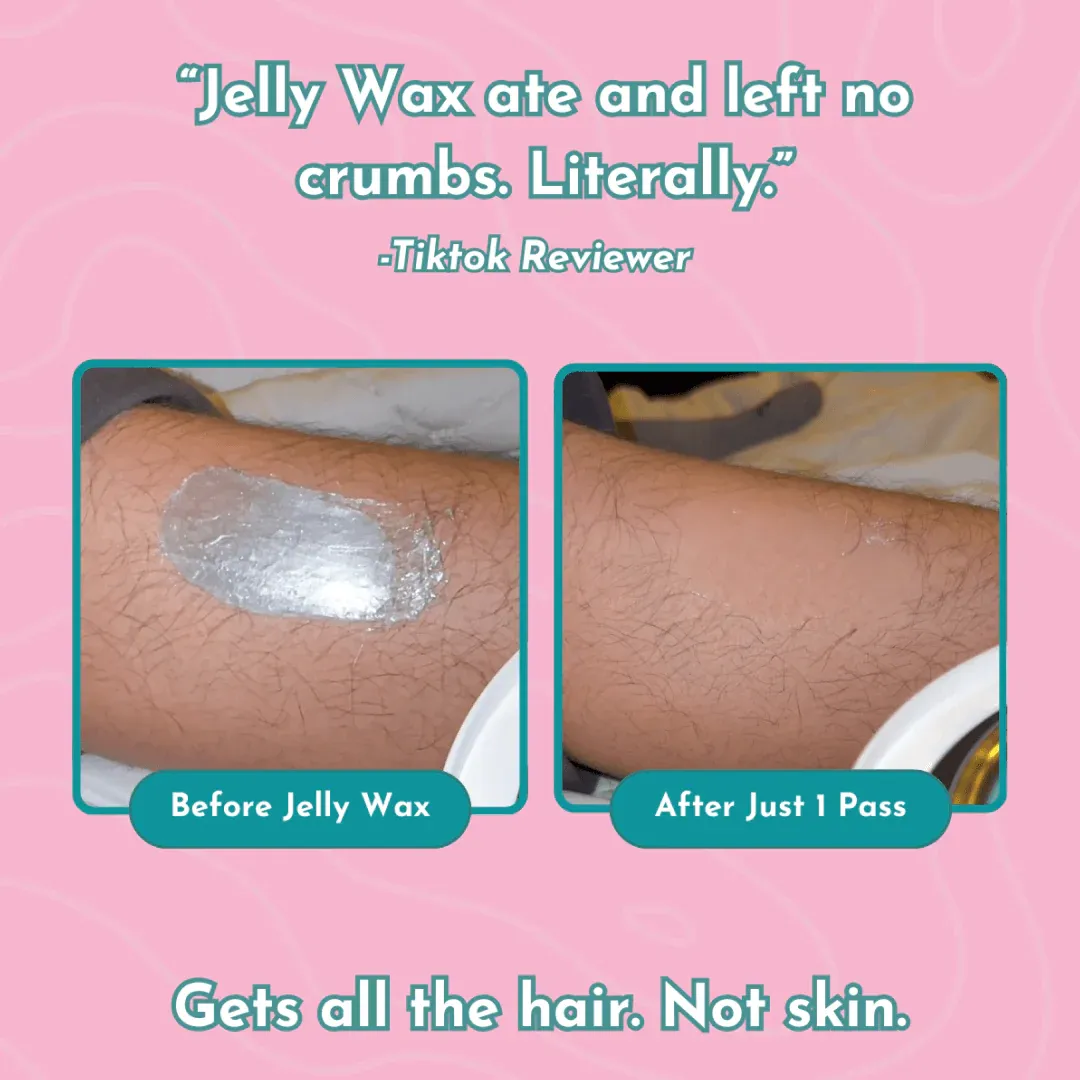
Gently lift the edge of the wax, then remove in one quick motion against the direction of growth. It grips the hair, not your skin.
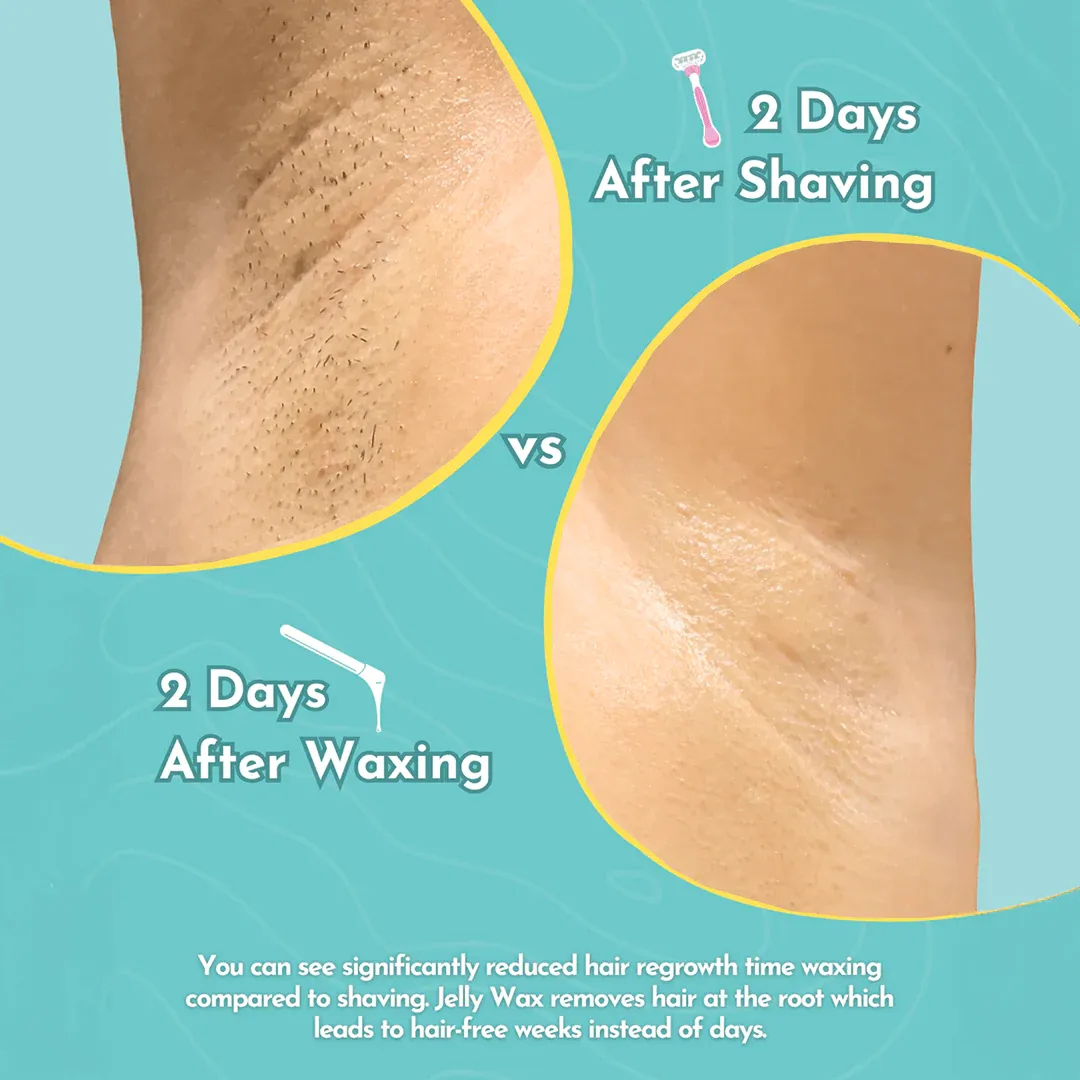
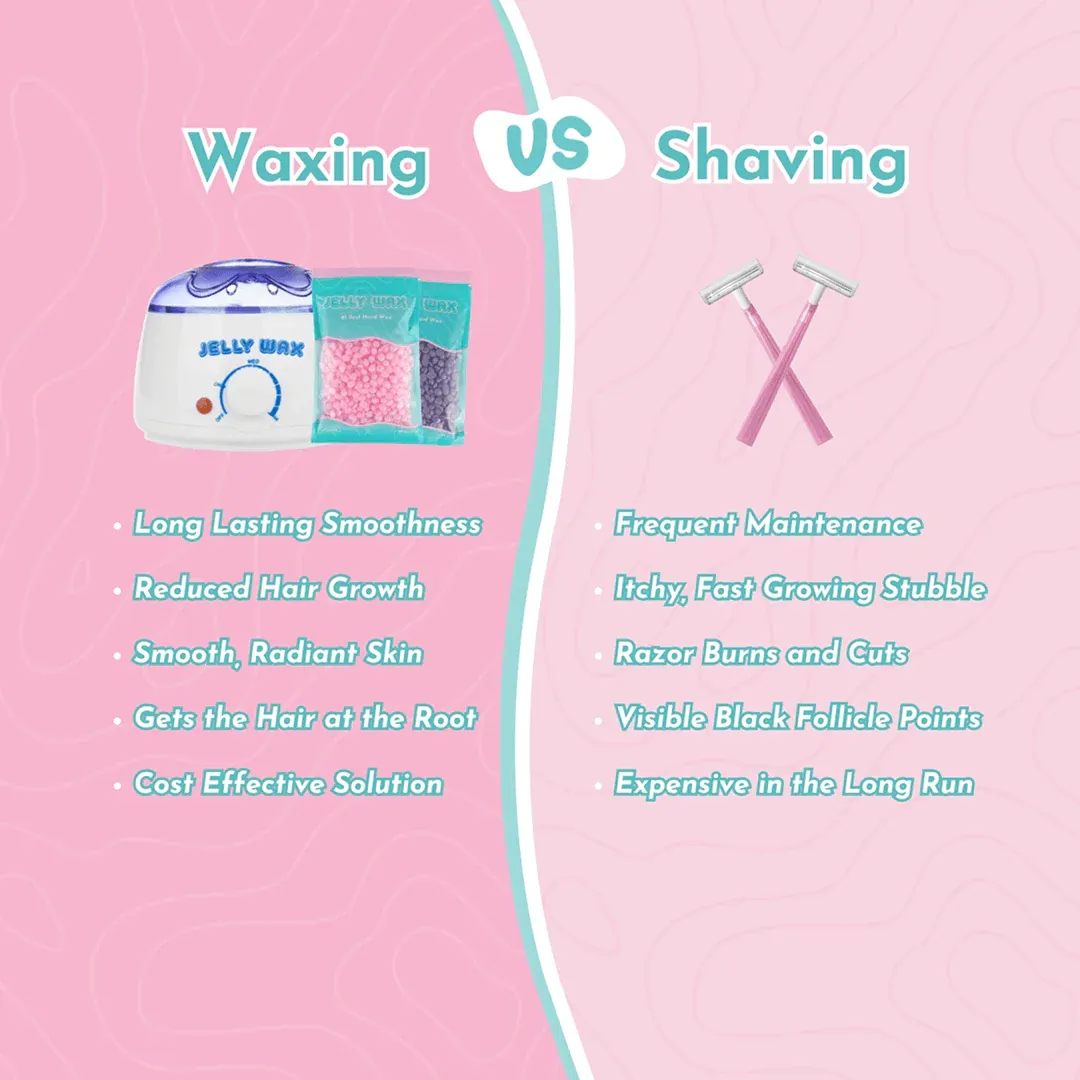
How Jelly Wax Compares
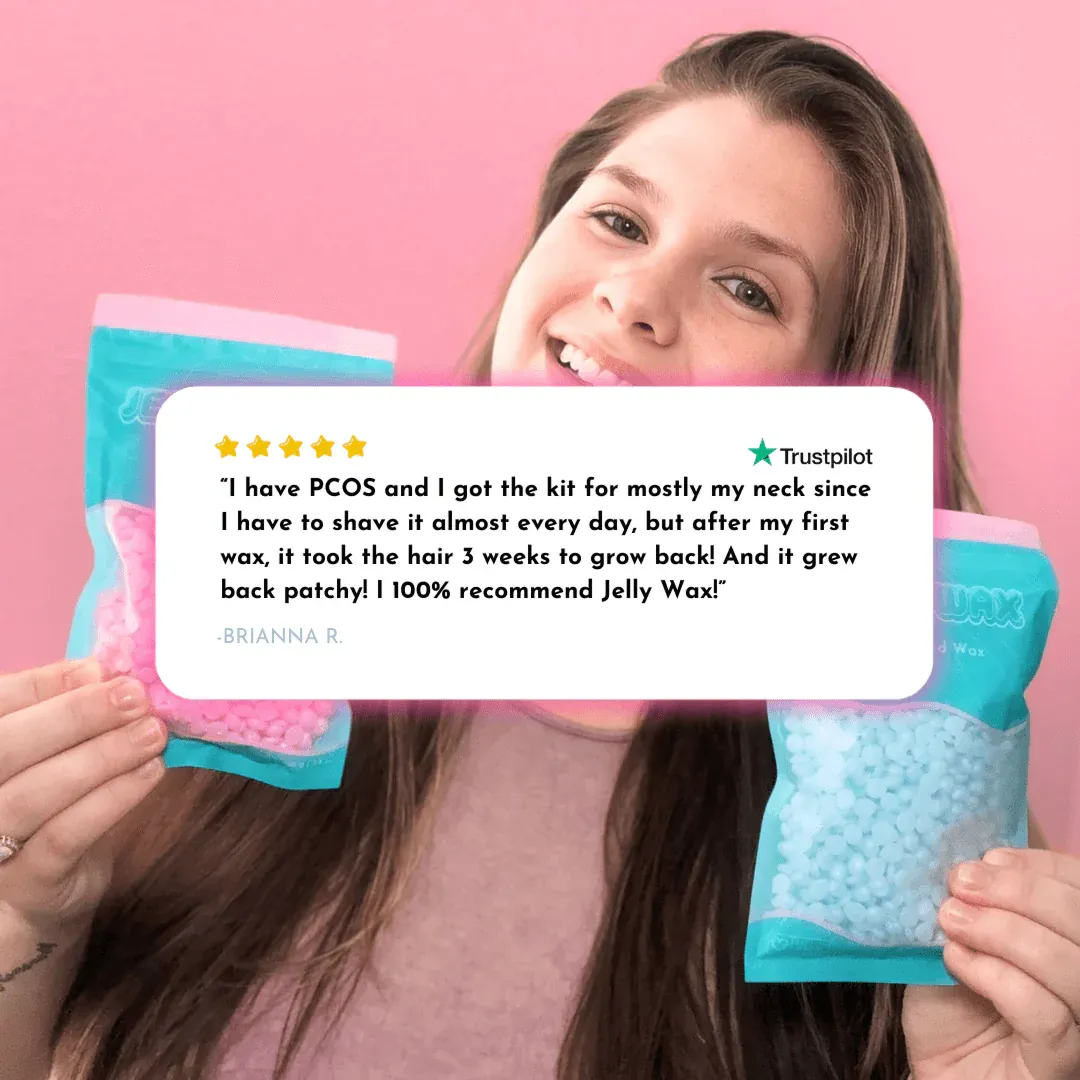
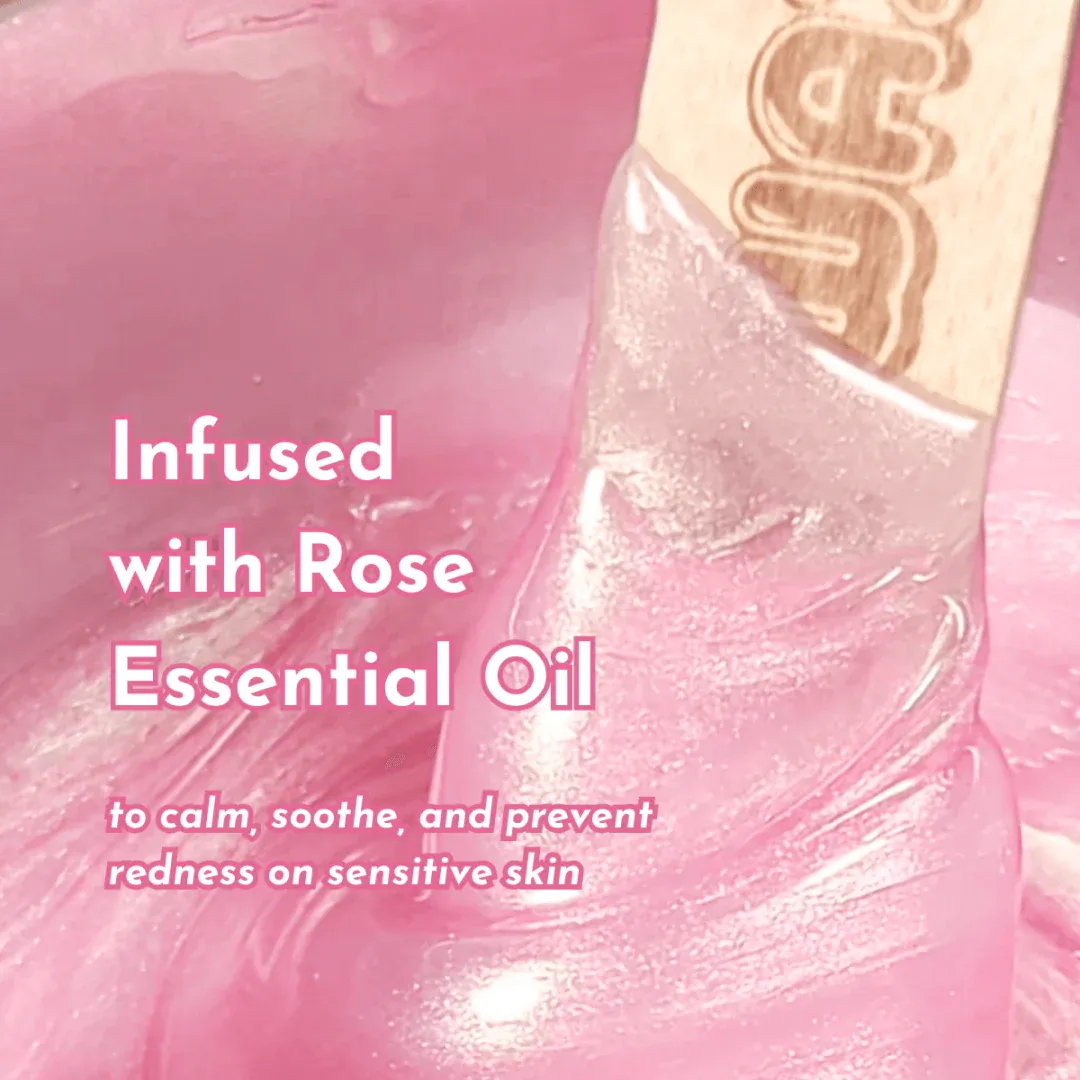
Jelly Wax is made for Sensitive Skin, making your waxing experience much more enjoyable (and yes, less painful than your traditional waxes, shaving, or plucking)!


Meet The Founder
Jelly Wax was created by Hannah in 2019 after she couldn’t find an at-home waxing system that truly worked for sensitive skin. After testing over 20 waxes and working closely with formulators, she realized most formulas dried too fast, lifted skin, or caused irritation and ingrowns when used at home. After three iterations, she finally had a slower-drying, rosin-free wax designed specifically for sensitive skin and one-handed use.
In 2025, she refined the system again by pairing Jelly Wax with a complete skincare routine to support skin before and after hair removal. Today, Jelly Wax is a full 5-step at-home system and the Signature Jelly Wax formula has been third-party tested and recognized as Best Wax for Sensitive Skin.
Today Hannah continually works to improve the at-home wax experience with Jelly Wax.

Wax At Home, Worry-Free
Every kit comes with a 60-day satisfaction guarantee and a 1-year warmer warranty. If it’s not the right fit, returns are simple and hassle-free.